


One of the easiest and most creative ways to celebrate Halloween as a stoner is by crafting your very own Halloween pumpkin bong. You might be skeptical as to how one might make a pumpkin bong, but this tried and tested method has been a party favorite for us for years. And lucky for you, it doesn’t need any prior DIY experience -- just your bud of choice and some festive spirit!
Tools You’ll Need To Make A Pumpkin Bong
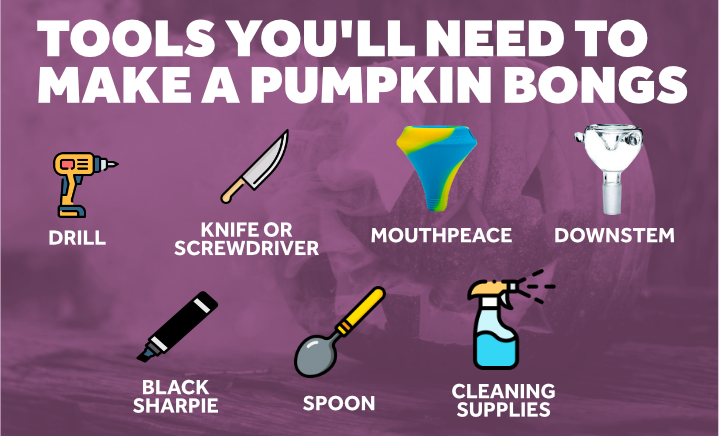
Drill
For home repair fans, you’ll most likely have a handy drill lying around. You’ll need this for creating the holes on the sides of your pumpkin to insert the downstem and mouthpiece. However, if you’re not comfortable with a drill, you can easily substitute this with another carving tool.
Knife or Screwdriver
If you don’t have a drill, then a knife or a screwdriver will make an excellent alternative for your pumpkin carving needs. Just make sure you’re extra attentive and responsible when wielding sharp objects. Luckily, pumpkin walls are relatively soft and easy to penetrate without much force.
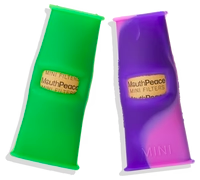
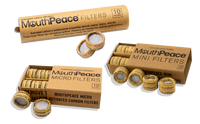
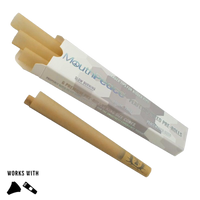
Mouthpeace
As with any bong, you’ll need a mouthpiece to inhale the smoke from. With a Mouthpeace and its filters, you can expect to greatly enhance your smoking experience.
Since all the nasty tar is being filtered out, you can save yourself the stress of contracting any lung or respiratory problems. And the best part is you can finally taste your cannabis in its truest and richest form.
Downstem
Using a downstem for any glass bong, you’ll need to detach it from your bong for this unique homemade experience.
Black Sharpie
Carving into a pumpkin is non reversible, which is why you’ll need to plan carefully before making any permanent carvings. With a black Sharpie, you’ll be able to gauge and measure where to place your mouthpiece and downstem to replicate an actual bong.
Spoon
While cleaning out the guts of a pumpkin is an optional step for this crafty bong, you’ll need a spoon or some form of scooper to help you remove the insides of your spooky pumpkin.
Cleaning Supplies
Every pumpkin is grown straight from the ground, so you’ll want to thoroughly disinfect your pumpkin of choice before smoking out of it. Spraying your pumpkin with rubbing alcohol is also an effective way to preserve your pumpkin from rotting.
In order to deep clean your bong parts as well, you’ll want to have a Ziplog bag or a basin for the submerging process, as well as rock salt to mix with the rubbing alcohol.
How To Carve A Pumpkin Into A Bong
1. Select a pumpkin
The first step is always the easiest: pick your poison. Hunt for your soon-to-be bong at any farmer’s market or pumpkin patch near you.
While there’s no ‘perfect’ size for a Halloween pumpkin, you’ll want to look out for a pumpkin that’s tall and hollow enough to drill easily and give you the desired size hit.. Going for a medium-sized pumpkin allows it to easily be passed around to share with your fellow stoners.
2. Disinfect Your Pumpkin
Before diving into the DIY process, you’ll want to do a deep clean of both your newly acquired pumpkin and your detachable bong parts.
For the pumpkin, make sure to disinfect the outsides of your pumpkin by doing a quick wash and proper rub down with tissue or a towel to remove any remaining dirt. If you found your pumpkin in a fresh pumpkin patch, there’s bound to be leftover soil or ground sediments hanging on.
Alcohol or soap is enough to do the trick, but if you want to go the extra mile, you can submerge your pumpkin in a solution of water, dish soap, and 2 tbps of bleach.
3. Deep Clean Your Bong Parts
Next, take your downstem and Mouthpeace and place them in a Ziploc bag or basin, whatever is most available to you. This deep clean depends on how frequently you wash your bong parts, but for extra measures, simply pour in isopropyl alcohol and rock salt and let it sit for half an hour.
4. Make Your Carvings
Using your Mouthpeace, figure out the placement on the side of your pumpkin. Make sure it’s somewhere close to the top so it’s comfortable to take a hit out of later on. You can mark this with a black Sharpie or just take a mental note for later. On the other side of your Halloween pumpkin, you’ll want to mark an appropriate spot for the downstem.
With your drill or knife, make a hole the size of a nickel on your markings. It’s better to start small so as to avoid making too large of a hole.
5. Clean the inside
This step is considered optional (and not recommended) for most since keeping the top sealed ensures that your Halloween pumpkin bong is sealed airtight. But if you prefer your pumpkins gutted, simply make a circular incision at the top of the pumpkin and keep the top stem handy to seal the pumpkin again. Using a spoon, scoop out the pumpkin guts. Again, since this is optional, you don’t need to completely flush out the insides since you can leave the insides to add a hint of pumpkin to your hit.
6.Install Your Pieces
With your Mouthpiece and downstem, push into the appropriate holes until it is snugly fit into the pumpkin. Make sure that the pieces don’t move around or slip further into the pumpkin as the bong is being passed around.
Surprisingly as well, you won’t need any water to enjoy this DIY pumpkin bong as the insides act as a filter on their own.
7. Light it up!

Now that you have your DIY pumpkin, it’s time to light it up! With your trusty lighter and favorite cannabis strain, give your DIY Halloween pumpkin bong a whirl.
If you’ve cut open the top of the pumpkin, make sure you’ve sealed it back as tightly as possible so as not to let any smoke escape. Remember, to get the best hit, you’ll want to make sure the smoke stays sealed inside.
Final Thoughts
While this bong might not last forever (it will start to grow mold within 24 hours and should be tossed), it still makes a unique and interesting way to celebrate Halloween. Show up to your next Halloween party with this crafty bong, and you’ll be sure to make a whole lot of friends!
And even when it’s not Halloween, it still makes for a flavorful experience as the cannabis flavors intermingle with a hint of pumpkin on the inside. It’s also a groovy and spooky way to enjoy the natural flavors of the Earth with a homemade bong grown straight from the ground.