


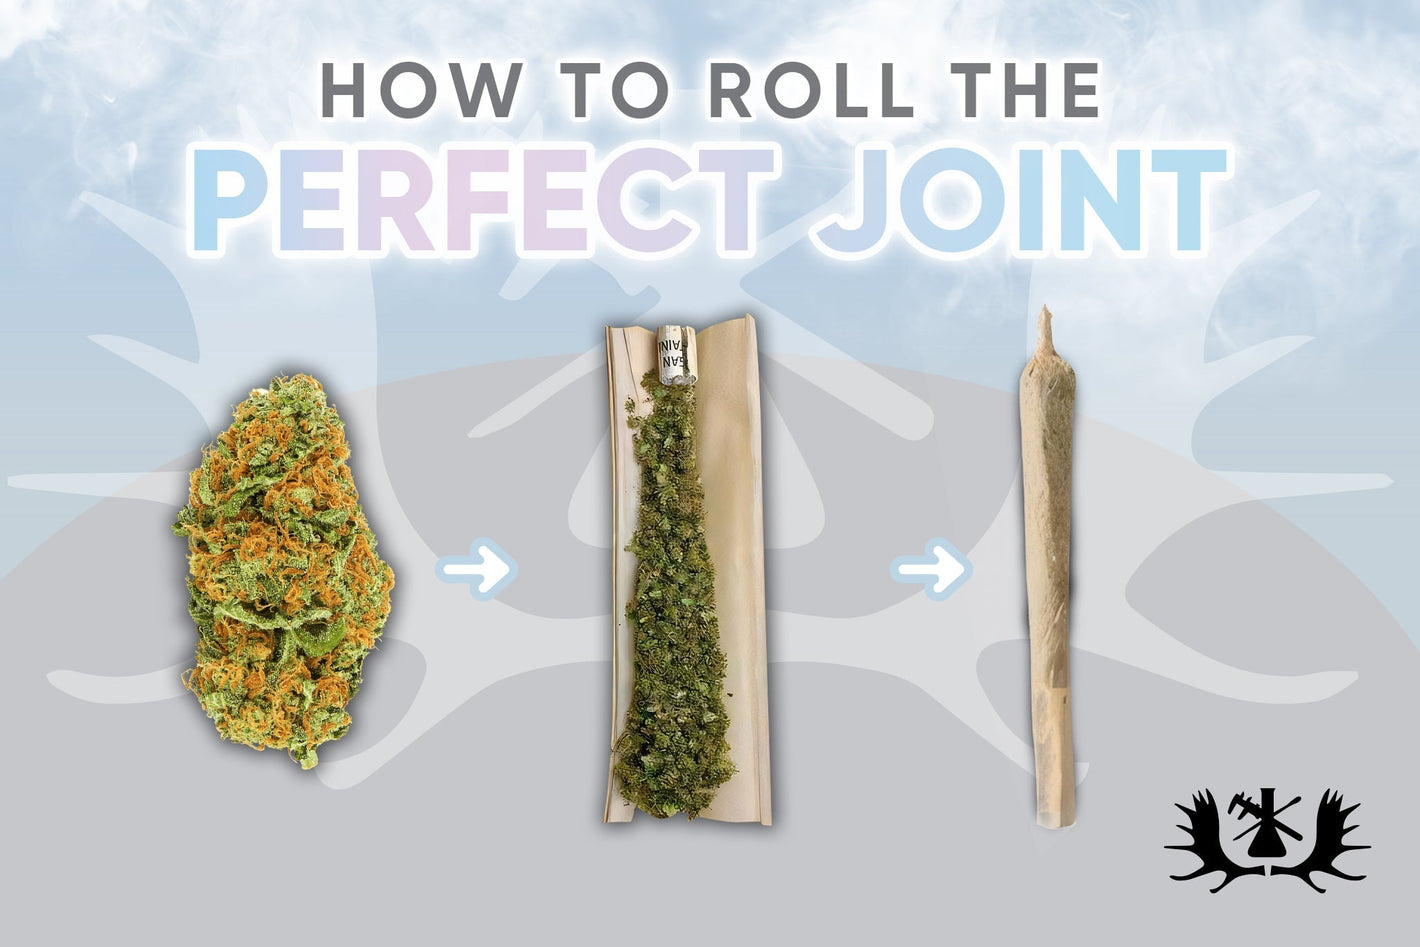
How To Roll The Perfect Joint
Learning how to roll a joint is a fun and rewarding skill for any stoner. You can roll a small "pinner" for a quick session or a larger 3.5 when sharing with friends.
Most importantly, mastering the rolling process gives you a sense of pride. A perfectly rolled joint is both a work of art and a badge of honor in cannabis culture.
That’s why we’ve put together this step by step guide. With these instructions and a few pro tips you’ll be rolling up like a pro in no time and be the go to roller in your crew.
What Is a Joint?
A hand-rolled cannabis cigarette. That's basically what a joint is. You might also hear it called a doobie, fatty, J, or jay.
Joints are usually cone-shaped and rolled with rice, hemp, or flax rolling paper.
There are different types of joints, too:
- Straight joints
- Pinners (narrower than straights).
- Cone joints ( Shaped like ice cream cones, wider at the tip).
- Cross joints (formed like an “X” with two joints intersecting).
- Double/Triple Wide Joint ( Made by joining two or three rolling papers to create a much thicker joint)
- Braided Joints ( three thin joints are braided together before being smoked as one - fun design but best left to the pros)
These are just a few examples to play around with once you’ve mastered the basics.
Before you start rolling your very first joint its probably a good idea to understand the difference between a joint, a spliff and a blunt. The simplest way to look at it is this: a joint is pure cannabis. A splif is a mix of cannabis and tobacco. Then there is a blunt - that is cannabis rolled up in tobacco leaves.
End of weed joints 101.
Let's get rolling!
Materials You’ll Need

First off, gather all the essentials to avoid interruptions mid-roll.
Here's what you'll need:
- Rolling Papers: Rice, hemp, or flax papers. Choose your style.
- Herb: Your herb of choice. A half-gram is typical for a standard joint, though you can adjust based on preference. Not too dry. Grab some quality fresh cannabis flower from your trusted local dispensary.
- Grinder: To break up your cannabis into a fine, consistent texture for an even burn.
- Filter or Crutch: A small piece of cardboard rolled into a cylinder to place at the end of your joint.
A Few More Helpful Extras:
- Rolling Tray: Helps keep things tidy and provides a flat surface to work on. It catches any fallen herb and keeps your workspace organized.
- Poker or Pen: Something to help pack the cannabis into the joint for a tighter roll.
- MouthPeace Mini: A silicone filter you can add to your finished joint to reduce harshness and filter out toxins for a smoother smoke.
Here’s a Step-by-Step on How to Roll A Joint

Step 1: Grind Your Herbs

To grind up your weed, open your grinder, place your cannabis in the chamber, close it up, and twist it around.
You don't want to grind your weed too much, or else it'll turn to powder and your joint will burn faster than you can enjoy it.
You also don't want it too chunky, or you'll get an uneven burn and a frustrating smoking experience. Aim for a consistency similar to dried oregano -fine enough to pack well but not powdery.
Step 2: Create a Filter/Crutch

You might be wondering why you need a filter. 3 good reasons:
It provides structure so your joint doesn't collapse
It prevents "Scooby snacks" (bits of cannabis) from falling into your mouth
You can smoke your joint right down to the very end without burning your fingers
To make a crutch, take a small piece of cardboard (about half an inch wide and two inches long). Fold the paper in an accordion style, i.e., a zigzag or “W” shape, then roll the remaining length around it to form a cylinder. Many people tear a piece off the rolling paper pack itself, but business cards or index cards work great, too.
Step 3: Prepare Your Rolling Paper

Your rolling paper has two sides. The shiny part is the gum strip - you're going to lick that later to seal up your joint, just like you'd seal an envelope.
Place the paper with the gum strip facing up and away from you. Position your pre-made crutch at one end of the paper (traditionally the left side if you're right-handed). This filter will anchor the rolling process and give you a starting point.
Step 4: Fill Your Paper

Time to add your ground cannabis! Sprinkle your herb evenly along the paper's crease, next to the crutch.
You can add less cannabis near the crutch end and gradually increase the amount toward the open end to create a cone shape if you prefer, but avoid adding too much at the middle as the joint will look weird (pregnant, they say).
Step 5: Shape, Tuck, & Roll

Now comes the hardest part!
Carefully hold the paper between your thumbs and index fingers, creating a "taco" shape. Gently roll the paper back and forth between your forefingers and thumbs and pinch it together using light pressure to shape the cannabis into a cylinder.
Once the cannabis is shaped, it's time for the tuck. Use your thumbs to fold the non-gum edge of the paper down and tuck it under the cannabis, starting at the crutch end. Roll upward, leaving only the little gum end exposed.
Step 6: Seal and Pack

Once you've rolled the paper up to the gum strip, lightly lick the gum strip with just enough moisture to activate the adhesive. Press it down firmly to create a tight seal along the entire length of your joint.
Now, grab a pen or poker and gently pack down the cannabis from the open end. This tightening step is crucial - it ensures an even burn and prevents your joint from burning too fast or "canoeing" (burning unevenly on one side).
Step 7: Twist the Tip to Finish

You almost there! To wrap things up, twist the extra paper at the open tip to seal it off so your bud stays inside. And just like that, my friend you have yourself a very nice looking joint - congrats on rolling your first one.
Step 8: Light up and Smoke Away!

When you're ready to give it a go, light the twisted end, and spin that joint a bit as you're lighting until you get a nice even cherry going. Take it slow, take it smooth, and just draw down easy - and smoke on away.
Pro tip: For an even smoother and healthier smoking experience, pop a MouthPeace Mini onto your joint before you light up. This small but mighty accessory filters out tar and resin while keeping the flavor intact, giving you a smoother, cleaner smoke every time.
A Few More Pro Tips
Truthfully, it will take a few tries before you roll the perfect joint. But hey, the old adage still stands - practice makes perfect, so keep rolling and at some point you'll be doing it in your sleep.
That said, here are a few tips to speed up your learning curve:
- Fixing a Loose Joint: If your joint feels loose and airy, you can save it. Use a poker to gently pack more cannabis into the open end, or carefully unroll and add more herb before re-rolling with tighter tension.
- Dealing with "Canoeing": Canoeing happens when one side of your joint burns faster than the other, creating an uneven burn. This is usually caused by uneven packing or moisture. To fix it mid-smoke, lightly lick your finger and dampen the fast-burning side to slow it down, or gently blow on the slower side to encourage even burning.
- Torn Rolling Papers: If your paper tears during the rolling process, don't panic. You can carefully patch it with a small piece of rolling paper, or simply start fresh. With practice, you'll develop a gentler touch.
We hope this guide has leveled up your joint-rolling skills. Now go on and have a blast trying to master it. Happy rolling!
FAQs:
What are the benefits of rolling your own joint versus buying a preroll?
Rolling your own gives you full control over the quality and strain of cannabis flower used. You can also customize the size, shape and tightness to your liking, which you can’t do with pre-rolls from a dispensary. And there’s the satisfaction and skill-building aspect - rolling is a craft that connects you more deeply to cannabis culture.
What is the best type of paper to use for rolling a joint?
The "best" paper depends on personal preference, but here are the main options:
- Rice papers: Thin, slow-burning, and nearly tasteless ideal for enjoying pure cannabis flavor
- Hemp papers: Slightly thicker, eco-friendly, and provide a smooth burn
- Flax papers: Less common but offer a clean burn
For beginners, hemp papers are recommended because they're slightly thicker and more forgiving during the rolling process. Brands like Zig-Zag, RAW, and OCB are popular choices.
Can you roll a filterless joint?
Yes, you can roll a filterless joint, though not recommended. Smoking without a crutch means you’ll burn your fingers trying to smoke it down to the end and you’ll inhale cannabis particles (“Scooby snacks”).
However, some traditionalists prefer filterless joints for the raw experience. If you choose to go filterless, simply skip Step 2 and roll as normal, being careful to leave a small pinch at the end for your fingers.
My joint burns too fast how should i fix?
A fast burn is usually caused by two things: either the cannabis is ground too fine or the joint is packed too loose. Try a coarser grind next time and focus on rolling it a bit tighter for a slower more even burn.
What is a cone joint, and how do you roll one?
A cone joint is wider at the tip and narrower at the crutch. To roll one, put more cannabis at the far end of the paper and less near the filter. When you roll, the paper will naturally create a cone shape.


SPECIAL FOR OUR BLOG READERS!
CLAIM YOUR
As a valued reader, you deserve more than just great content.
Enjoy 20% off your next tech purchase as our way of saying thanks for sticking with us.
Use Code